Enabling MFA for Jamf Pro With Azure AD

If you’re using Jamf with Azure Active Directory Single Sign-On, it might be good for your security posture to enable Multi-Factor Authentication for your Jamf admins. Because Jamf is so powerful in terms of the management actions it can perform on your devices, it’s probably not a bad idea to reduce the chances of a malicious actor getting into the management console. I was looking into how this works, and decided to write up what I found out.
Requirements⌗
First things first, your Azure tenant will need to be licensed with an Azure AD Premium license 1. Azure AD Free does not include Conditional Access. I used a Premium P2 license for this writeup, but you can follow this guide with AAD Premium P1 if you have that.
You will also need SSO for Jamf Pro configured with Azure, and it’s also not a bad idea to have AAD configured as your Identity Provider as well. You don’t need AAD as an IdP, but it makes role assignments a little easier and a little clearer for you.
SSO is a requirement, especially if you want to be able to access the Jamf console with your AAD credentials. Jamf doesn’t support logging in to Jamf with AAD credentials without SSO if you’ve enabled MFA in Azure as of 10.332.
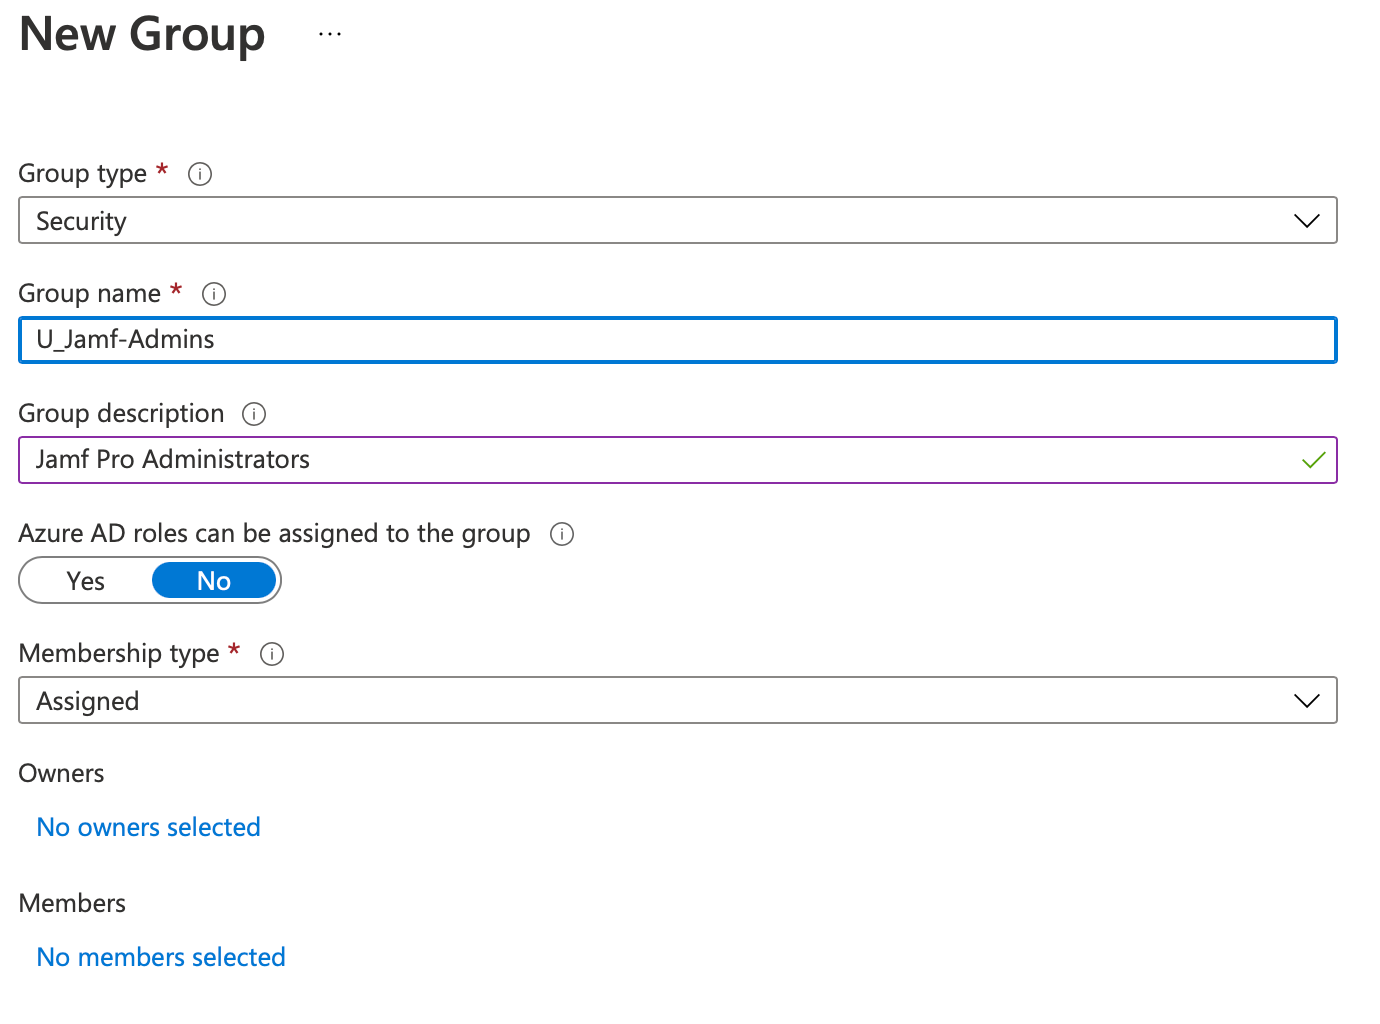
If you’ve got both of these set up, you should also make sure you have an AAD Security Group that contains anyone you want to be an administrator. You could even have multiple security groups (e.g. one for people who need read-only access to Jamf, for instance), but for the purposes of this tutorial I’ve only made one for admins.
Setting up the MFA Conditional Access policy⌗
To actually enforce MFA at the Jamf Pro SSO page, you’ll need to set a Conditional Access policy for the Jamf app registration. This basically tells Azure that it should only let you log in provided you meet the specified conditions, which in our case will be that you use MFA.
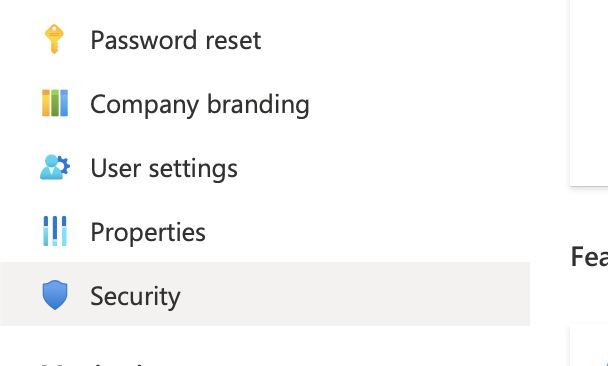
Log into Azure, and head on over to Azure Active Directory. On the left hand side, scroll down to the “Security” section, and click it.
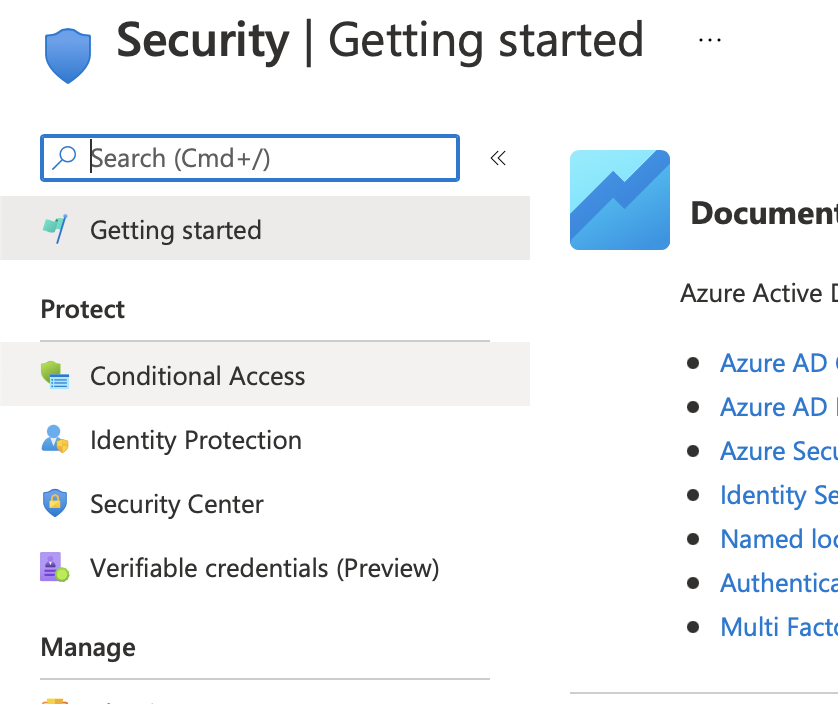
On the left, you'll now see "Conditional Access", which is where you want to go.
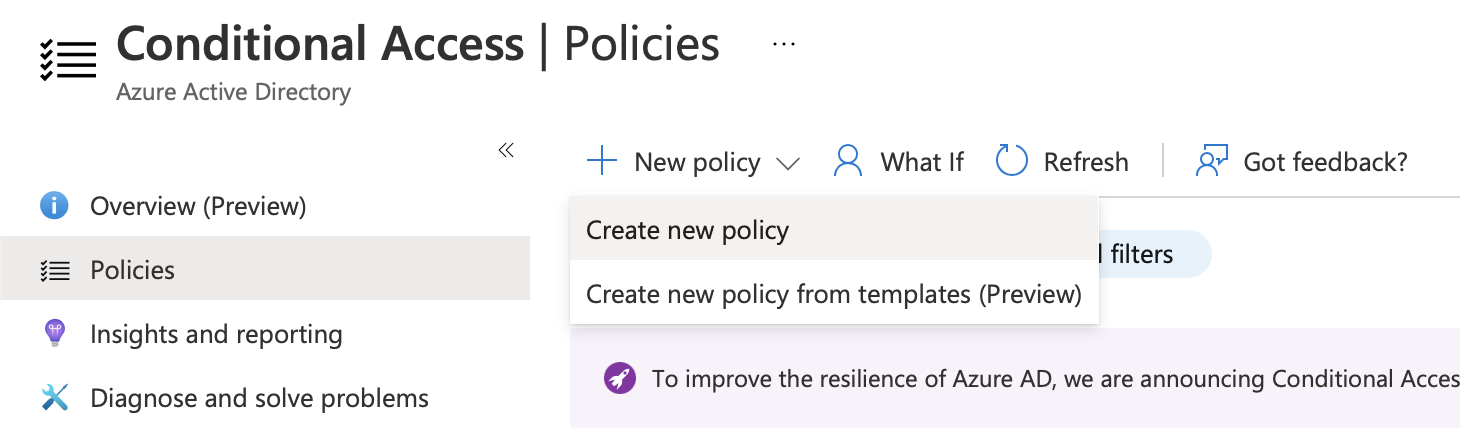
 In the Conditional Access pane, make sure you've selected "Policies" on the left. Then, you can click "New Policy> Create new policy".
Now that you’re in the policy creation window, you’ll notice that there are a load of different configuration options. I’ll run through these so that you can understand what we’re looking at here:
Assignments⌗
The assignments category basically sets up when the policy applies: for which users or apps it applies 3. In our case, the users for which it applies would be your Jamf admins (who are perhaps members of the group we created earlier), and the application it applies for is Jamf Pro. You can even set it to force MFA for all apps, but if you’d done that you probably wouldn’t be reading this.
The “Conditions” configuration also determines whether it kicks in for specific situations, such as if a user is logging in from outside the corporate network, or if Azure has determined that there is a high probability a user account has been compromised 4. If you wanted to, you could configure MFA to only be enabled if the sign-in is not coming from your office IP address, for example.
Access Controls⌗
The access controls category configures what we do when the above conditions are met (or not). Grants allow us to configure whether the login attempt passes, or whether we maybe set an additional requirement to log in (e.g. MFA).
Using grants as well as the assignments mentioned above, we could for example only require MFA if the user account is suspected to have been compromised, or we could require that a device is compliant in Azure to access a resource if the device being used is not logging in from a known or trusted location.
Lastly, Session controls allow us to customise characteristics of the log-in session 5. Perhaps you want to make sure that your Jamf admins authenticate once a day - then you might set the sign-in frequency to be 8 hours, so that the session is expired once every working day.
Creating the policy⌗
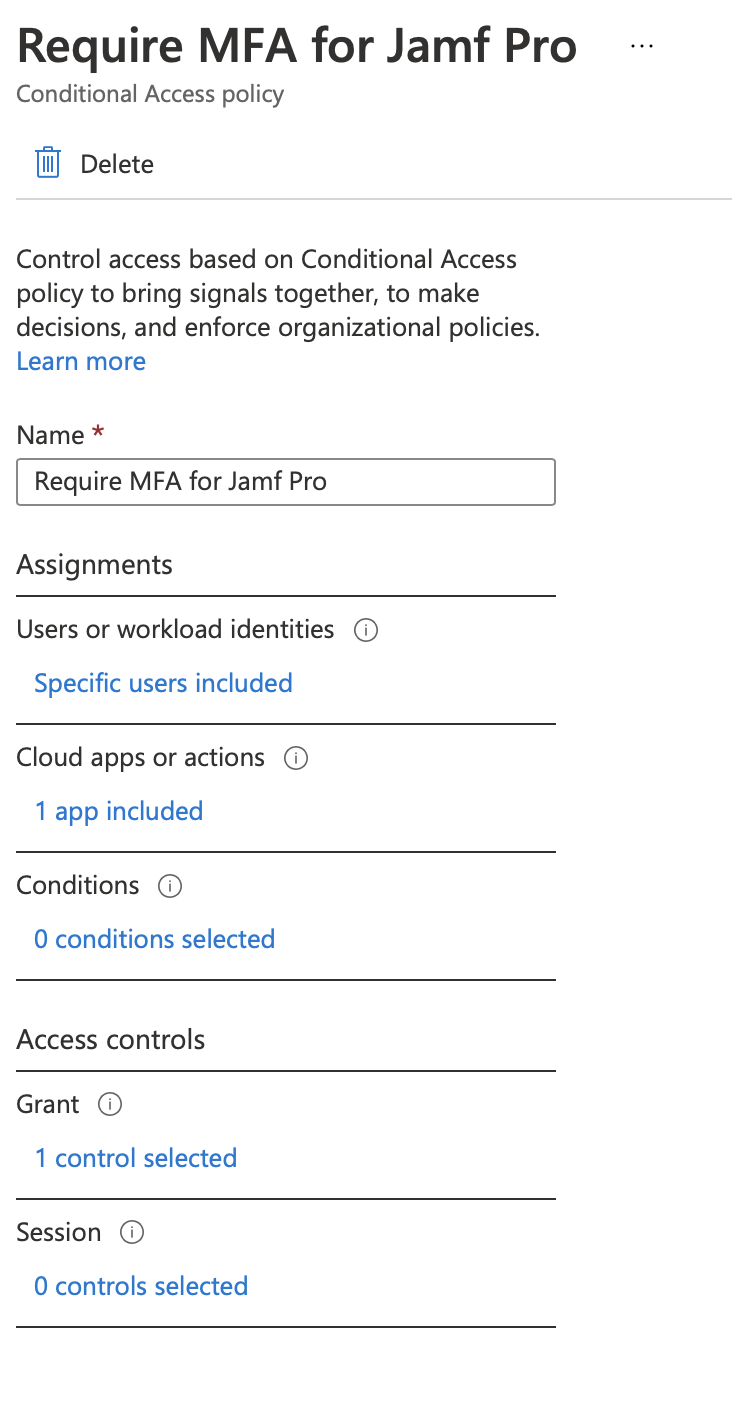
Now that we’ve summarised what we can do with CA Policies, lets actually build a policy to enable MFA for Jamf Pro. You should give your policy a name that explains the policy (e.g., “Force MFA for Jamf Admins”).
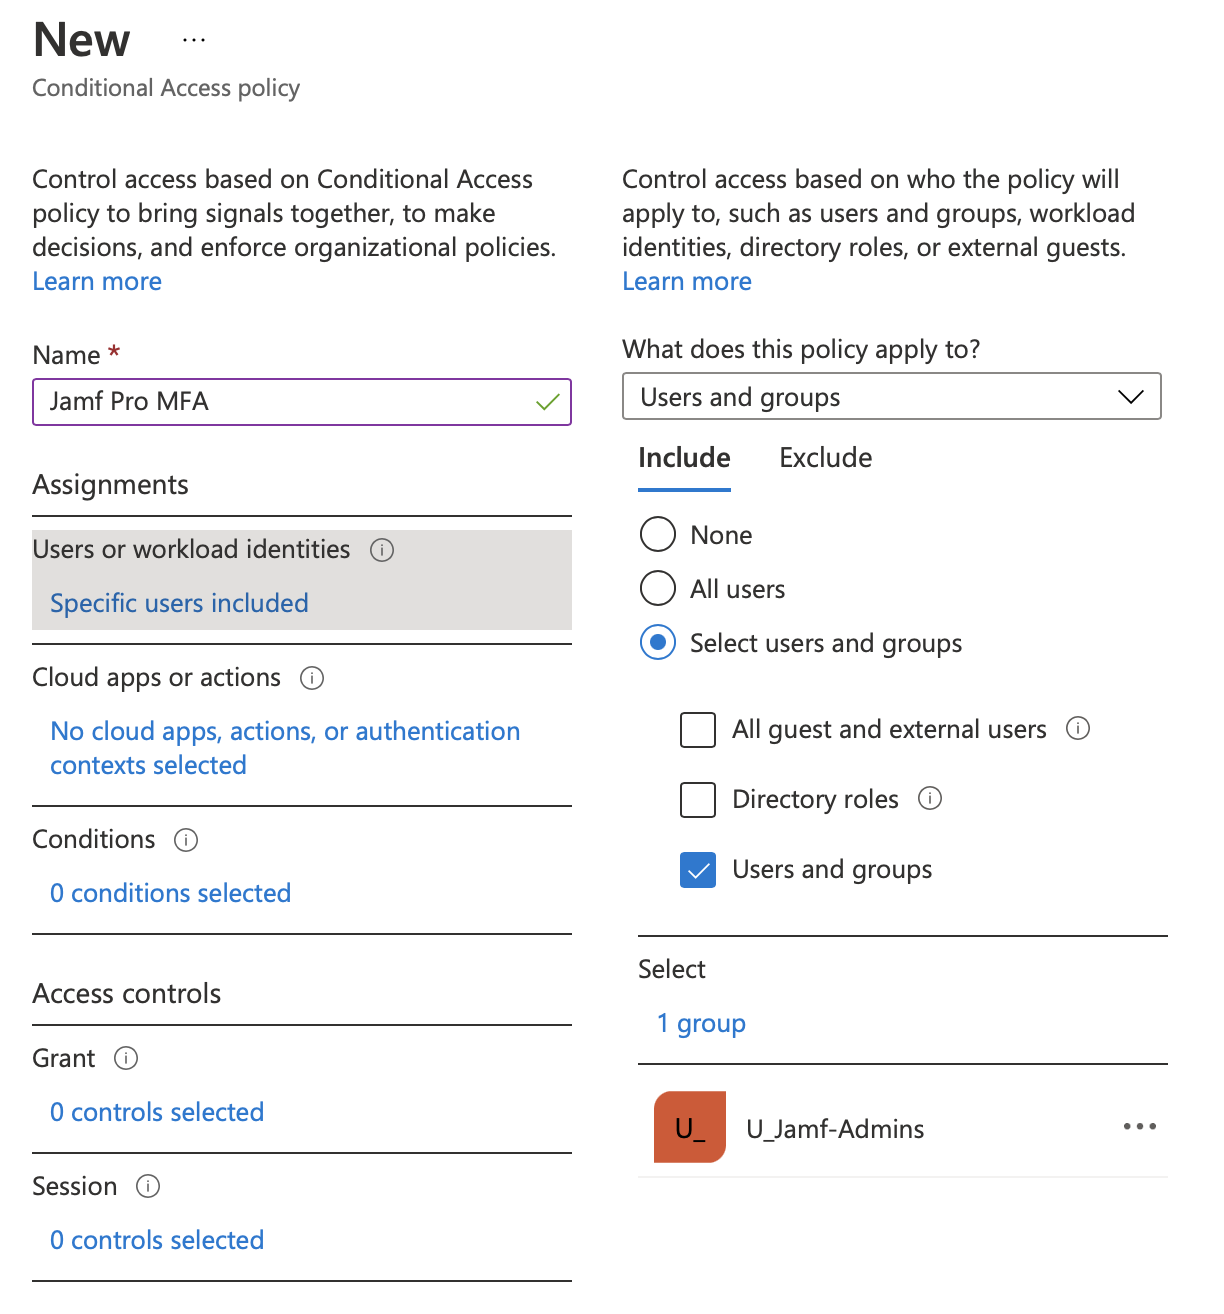
For the “Users or workload identities”, you should check the “Select users and groups” radio button, and check the “Users and groups” checkbox. Then, on the right-hand side, select your Jamf Admin group (in my case, U_Jamf-Admins), or the individual users you want to scope the CA policy to.
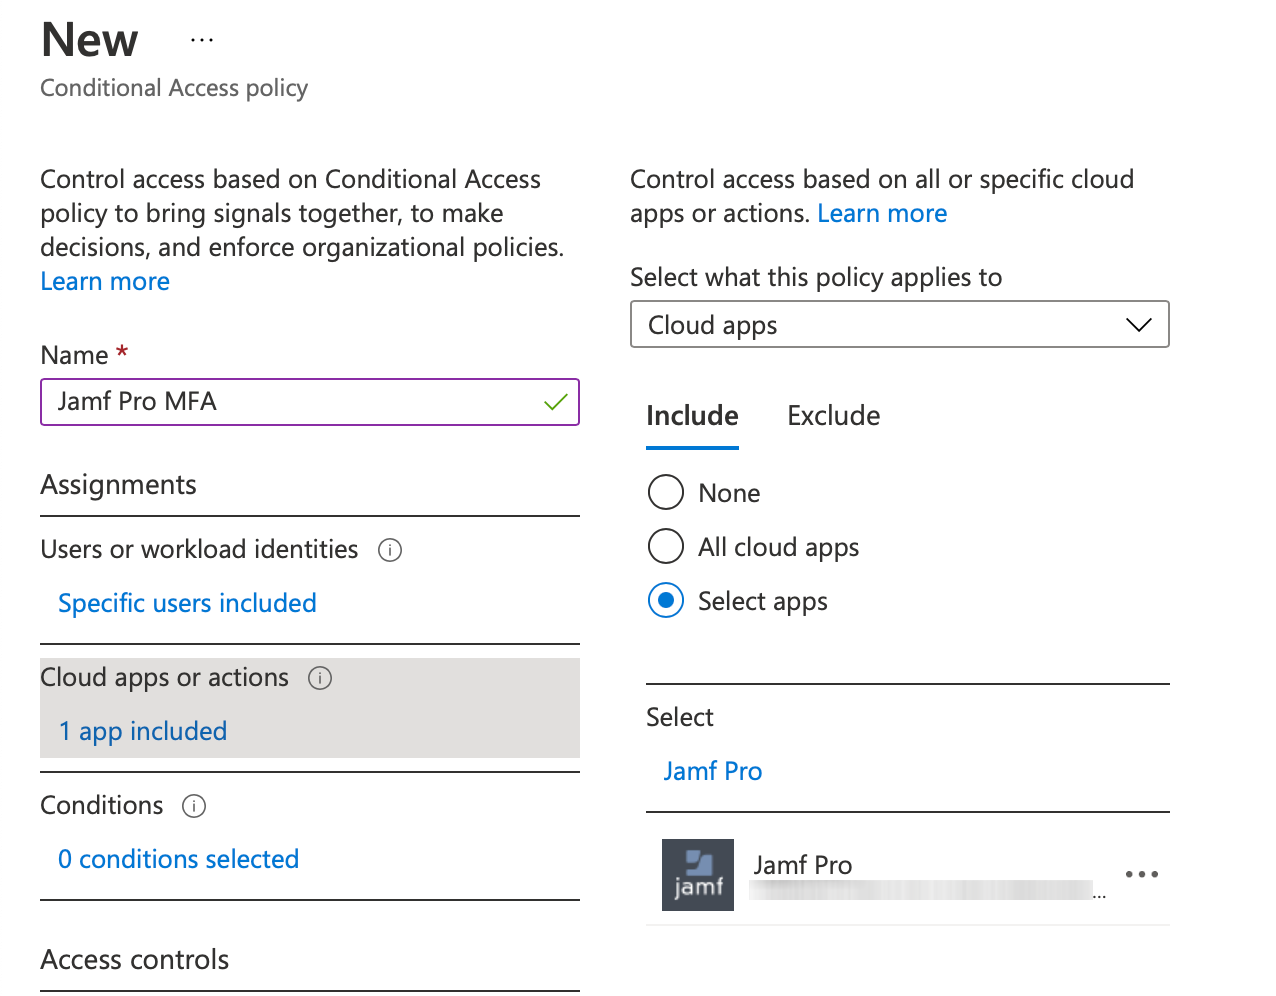
Next, for “Cloud apps or actions”, you should choose the “select apps” radio button. On the right-hand side, search for Jamf, and select “Jamf Pro”. You don’t need to add the Jamf Pro Azure AD Connector to your MFA policy.
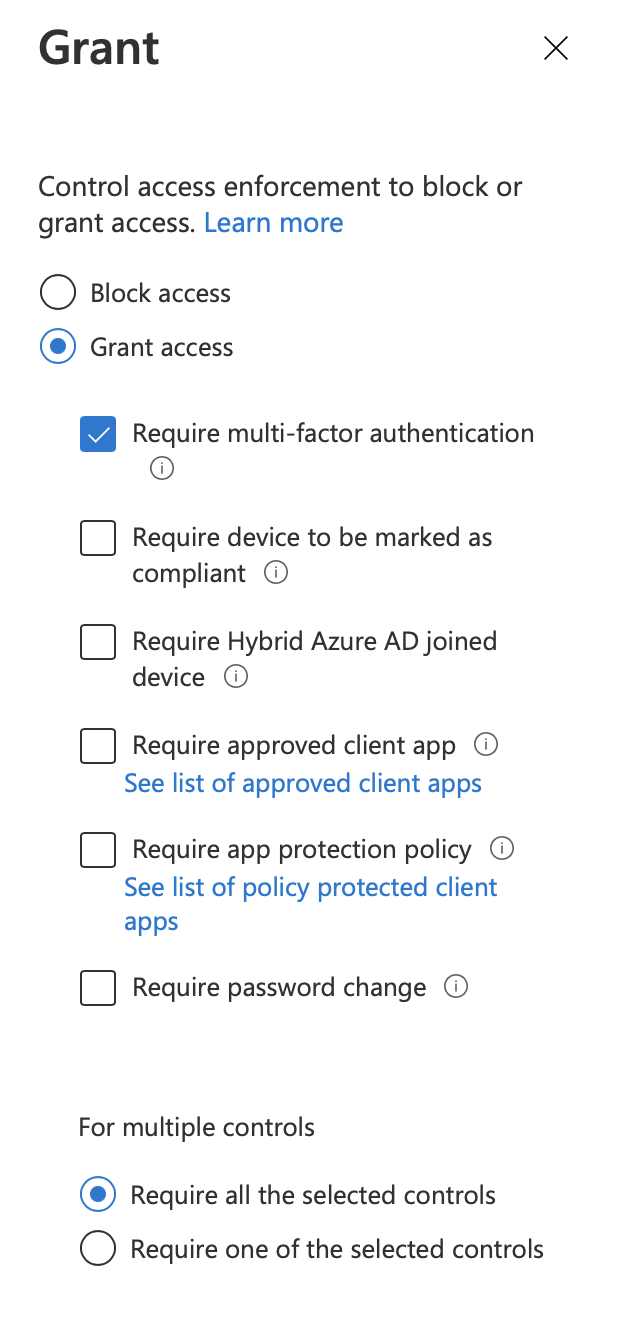
Then, for “Grant”, we want to check the “Grant access” radio button, and check the “Require multi-factor authentication” box.
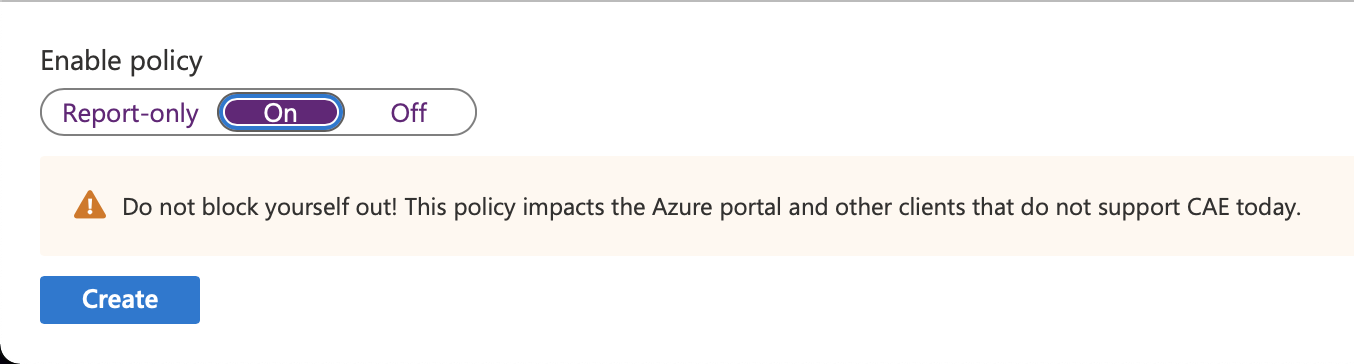
As a last step, you’ll want to set “Enable policy” at the bottom to “On”, so that it gets applied, and hit create.
Result!⌗
Now, next time you log into Jamf Pro, you’ll be greeted with a prompt for your second factor after you’ve entered your password.

It might take a few minutes after enabling your policy for the changes to be reflected at the login screen.
Extras⌗
If you haven’t already, you can add the AAD group as an LDAP group in your User & Group settings for Jamf. This makes things a little easier organisationally, because anyone added to that group will be a Jamf admin and also have to use MFA to log in.
It’s worth noting that if you want to enrol a device with the SSO identity that you use for Jamf Pro admin tasks, you will have to use your token to enrol the device. As a result, it’s probably not worth enabling something like this company-wide, especially if you want to keep your enrolment super simple.
I hope this post was informative. Send me an email if you have questions or feedback!
-
https://docs.microsoft.com/en-us/azure/active-directory/conditional-access/overview#license-requirements ↩︎
-
https://docs.jamf.com/10.33.0/jamf-pro/administrator-guide/Azure_AD_Integration.html ↩︎
-
https://docs.microsoft.com/en-gb/azure/active-directory/conditional-access/concept-conditional-access-policies ↩︎
-
https://docs.microsoft.com/en-us/azure/active-directory/conditional-access/concept-conditional-access-conditions ↩︎
-
https://docs.microsoft.com/en-gb/azure/active-directory/conditional-access/concept-conditional-access-session ↩︎