User Identity in Munki

Munki is a powerful tool for deploying software. Its manifest design grants a lot of flexibility, whether you are assigning software to large audiences of machines, or individual ones.
But what if you want to tie software to facts about the end-users identity? At some organisations, Macs are re-used, meaning that the relationship between a Mac and its user is not 1:1 for the lifetime of the device.
Munki doesn’t integrate natively with identity providers, but some MDM solutions provide features that you can leverage to provide it with information about a users identity.
Using these features, munki-facts, and conditional items in manifests, we’ll cover how to scope software in Munki based on user directory attributes.
MDM features⌗
MDMs such as Jamf, Kandji, and Microsoft Endpoint Manager (MEM)1, all offer facilities to insert information about a device into configuration profiles. Jamf refers to these as Payload Variables, with Kandji calling them Global Variables, and MEM referring to them as Device Tokens.
The basic idea behind these is that instead of providing a hard-coded value in a configuration profile, you can use a variable (e.g. $SERIAL_NUMBER) instead. At the time of deployment, the MDM then replaces this variable with the relevant value from the machine that the profile is being pushed to (in this case, the devices serial number).
Depending on your MDM vendors implementation, you can also expose information about the user assigned to the device through these variables. This information (at least in all the MDMs mentioned) is sourced from your user directory.
We’ll be using Jamf Pro for implementation examples for this, as I still have access to a beta tenant that’s perfect for messing around with this kind of thing.
munki-facts⌗
munki-facts is an Admin Provided Condition that provides a framework to write short Python scripts to determine facts about a device. Munki can then use these in conditional items.
Munki ships with a set of default, built-in conditions, some of which you can find in /Library/Managed Installs/ManagedInstallReport.plist. You can read these out with the defaults command:
defaults read /Library/Managed\ Installs/ManagedInstallReport.plist MachineInfo
Which will give you something that looks a bit like this:
{
    arch = arm64;
    hostname = "Jacobs-MacBook-Air.local";
    "ibridge_model_name" = "NO IBRIDGE CHIP";
    "ipv4_address" =     (
        "10.12.34.5"
    );
    "ipv6_address" =     (
    );
    "machine_model" = "MacBookAir10,1";
    "munki_version" = "6.1.0.4536";
    "os_build_number" = 23C71;
    "os_vers" = "14.2.1";
    "product_name" = "MacBook Air (M1, 2020)";
    "serial_number" = C02XXXXXXXXX;
}
Conditional Items⌗
Conditional items are, simply, software items that can be made available in Munki based on the conditions we’ve discussed above.
You can use conditional items in manifests, to gate off parts of the manifest. For example, I could restrict installation of Parallels Desktop to just a single computer with the serial number C02XXXXXXXXX using the following condition:
<key>conditional_items</key>
<array>
    <dict>
    	<key>condition</key>
    	<string>serial_number == "C02XXXXXXXXX"</string>
        <key>optional_installs</key>
        <array>
            <string>ParallelsDesktop</string>
        </array>
    </dict>
</array>
According to the docs, conditional items can be used to wrap all the keys used in a manifest, such as included_manifests, managed_installs, managed_uninstalls, managed_updates, andoptional_installs.
With the tools listed so far, you can dynamically scope basically anything to anything, based on any fact about the machine that you can derive with a script.
A Munki fact for user identity⌗
We can combine the MDM features we mentioned earlier with munki-facts to shepherd information about user identity from the MDM into the conditions available to Munki.
First, you’ll want to choose a preference domain (preferably one that is not in use by anything else) that you can configure with a profile. For this example, I’ll use computer.jc0b.ManagedClient.
Then, in Jamf (or your MDM of choice), you create a custom profile for that preference domain. For the configuration, we will use the following:
<dict>
    <key>Department</key>
    <string>$DEPARTMENTNAME</string>
</dict>
Next, just make sure that the scope of your profile includes your target machines. For this example, I just set the scope to be “All Computers”.
Now, if you look on a target machine, you should see the profile has landed, and (as long as the user assigned to the device has a department), you’ll see the value has been populated.
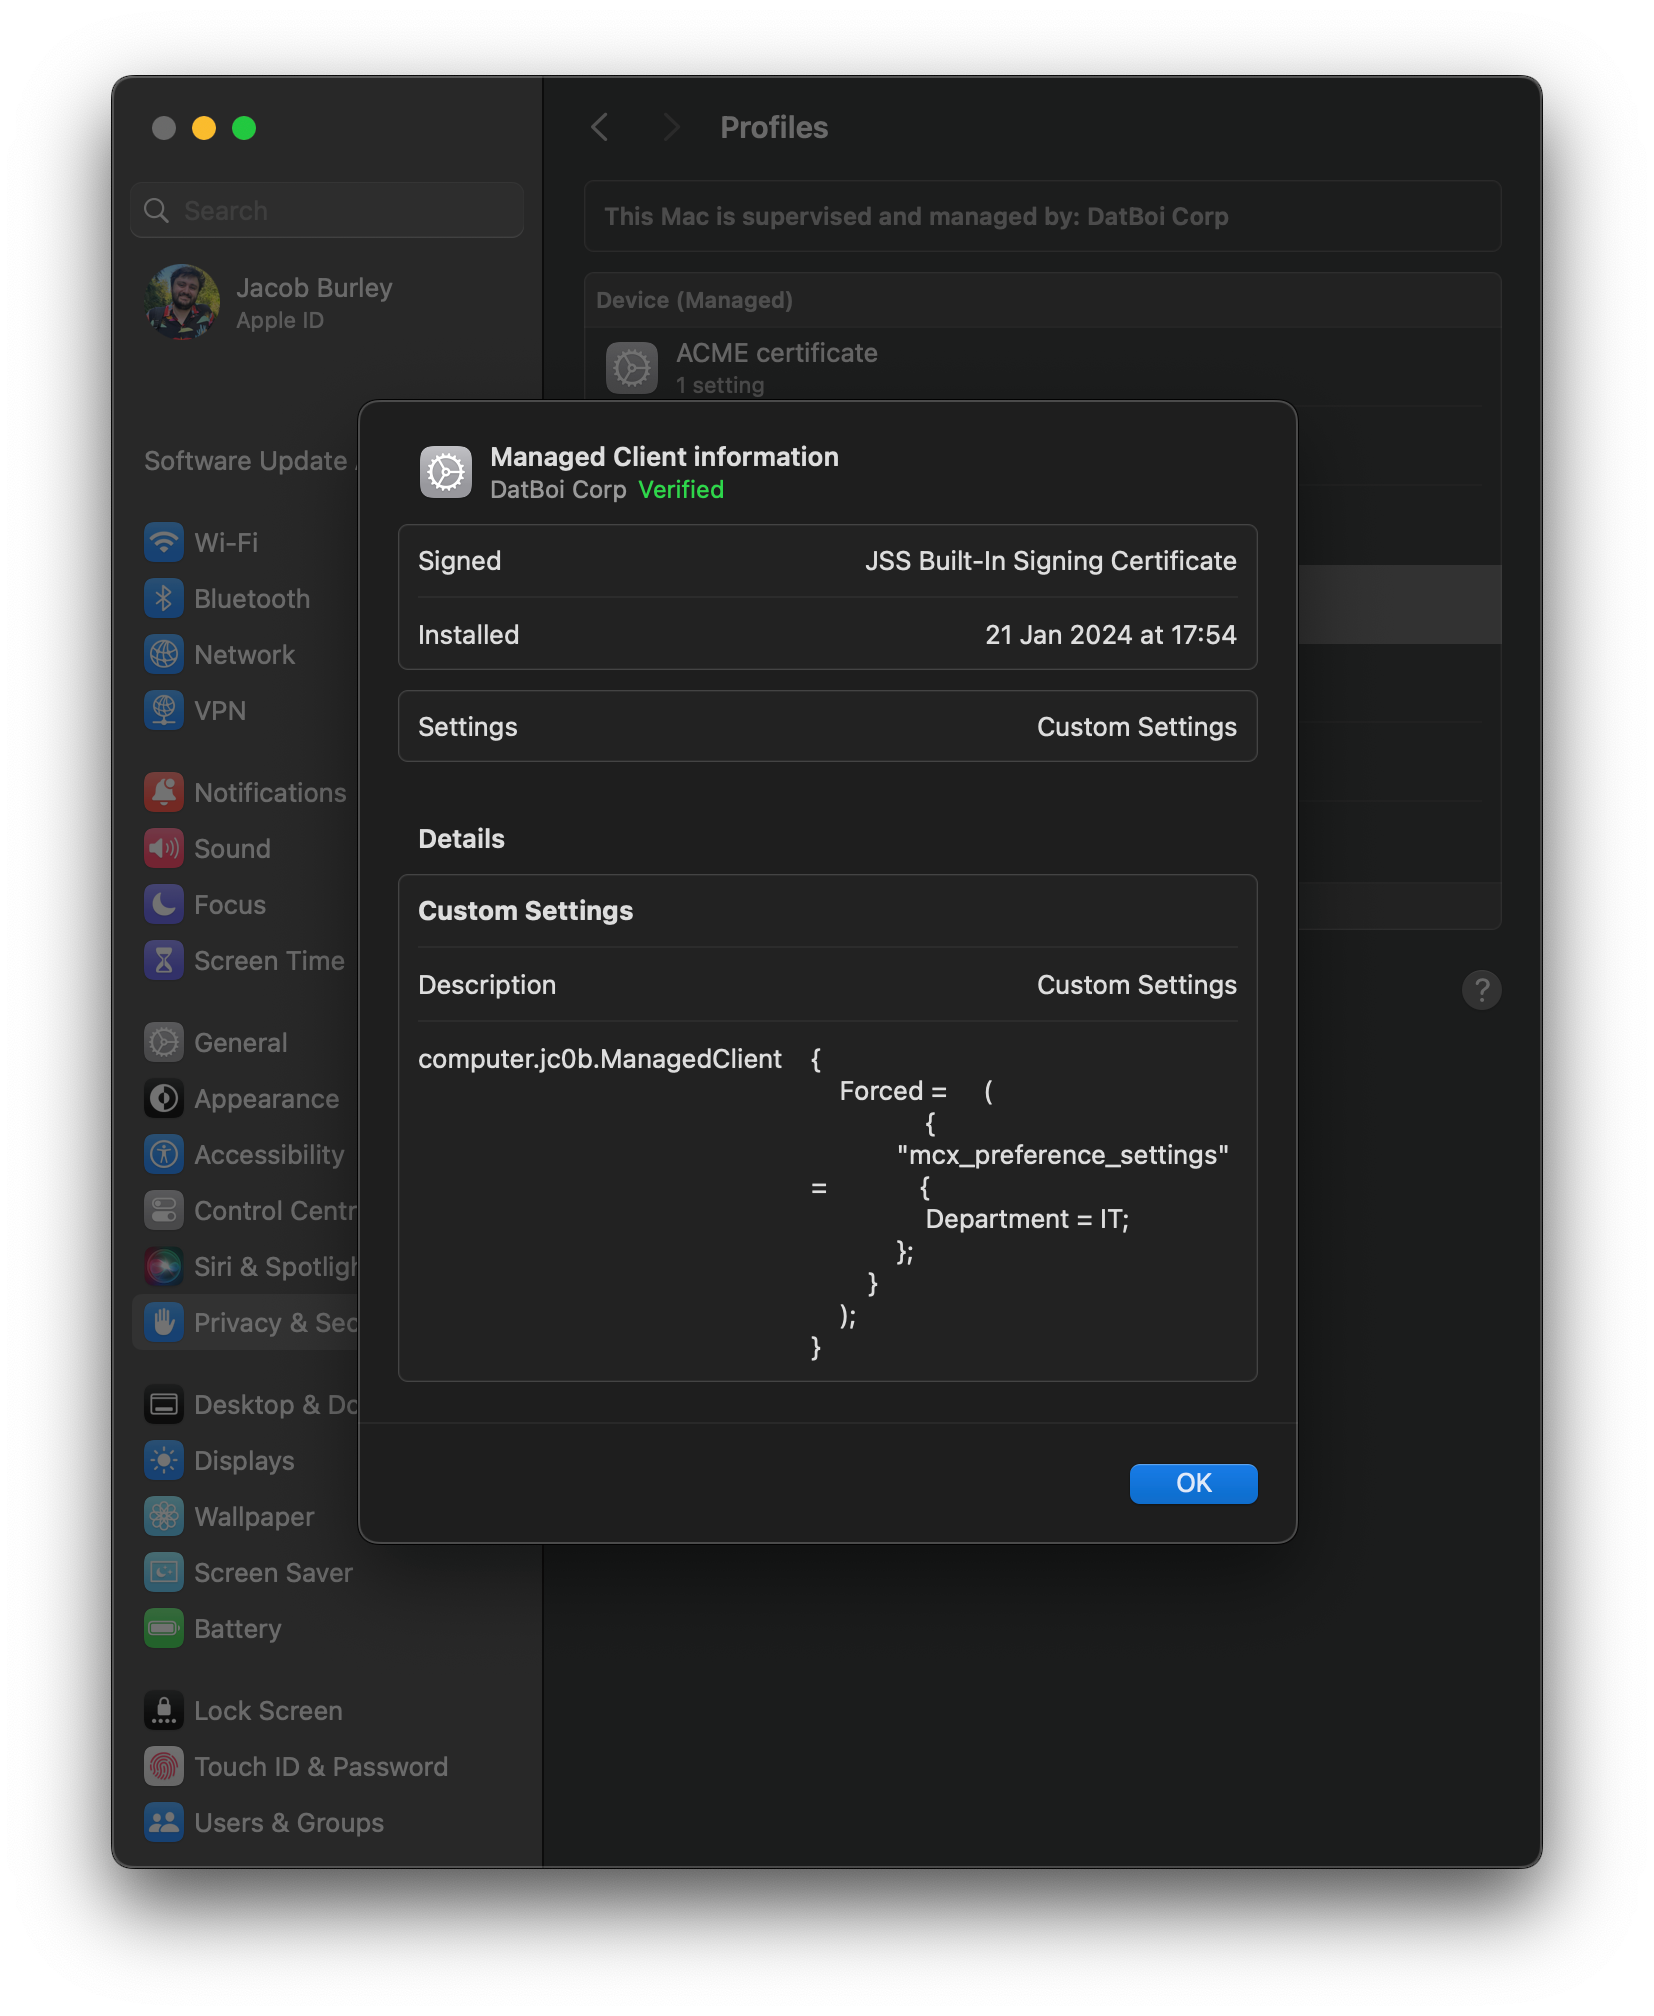
Now that this is available on the machine, we can write a fact to grab this information out from the profile. We’ll save this script as /usr/local/munki/conditions/facts/idp_department.py
'''Get the department from a managed preferences domain '''
from CoreFoundation import CFPreferencesCopyAppValue

def fact():
    department = CFPreferencesCopyAppValue('Department', 'computer.jc0b.ManagedClient')
    if department is not None:
        return {'idp_department': department}
    return {'idp_department': 'Unknown'}

if __name__ == '__main__':
    print(fact())
Note that the munki-facts framework requires there to be a
fact()method, which will be called by the framework.
With the munki-facts framework and our script in place, we should see a new Conditions key in /Library/Managed Installs/ManagedInstallReport.plist after Munki has completed a successful managedsoftwareupdate run.
We can read these out, like before, with the defaults command:
defaults read /Library/Managed\ Installs/ManagedInstallReport.plist Conditions
I’ve cut down the results (as munki-facts comes with some facts built-in), but we can see that our idp_department fact is now included.
{
    ...
    "idp_department" = IT;
    ...
}
Now, armed with this new fact, we can start adding things to Munki manifests based on it. For example, if you have a manifest named apps/internal-it that contains all of the software that should be scoped to members of IT, you can ensure that this manifest is included for members of IT like this:
<key>conditional_items</key>
<array>
    <dict>
        <key>condition</key>
        <string>idp_department == "IT"</string>
        <key>included_manifests</key>
        <array>
            <string>apps/internal-it</string>
        </array>
    </dict>
</array>
Caveats⌗
Sadly, the source of truth for this information isn’t perfect. In particular, Jamf does not re-push profiles containing Payload Variables to the device if the value of those variables changes. This means the department variable you push to a device can be out of date, which can mean users not getting access to software (or keeping access to software) after a role change.
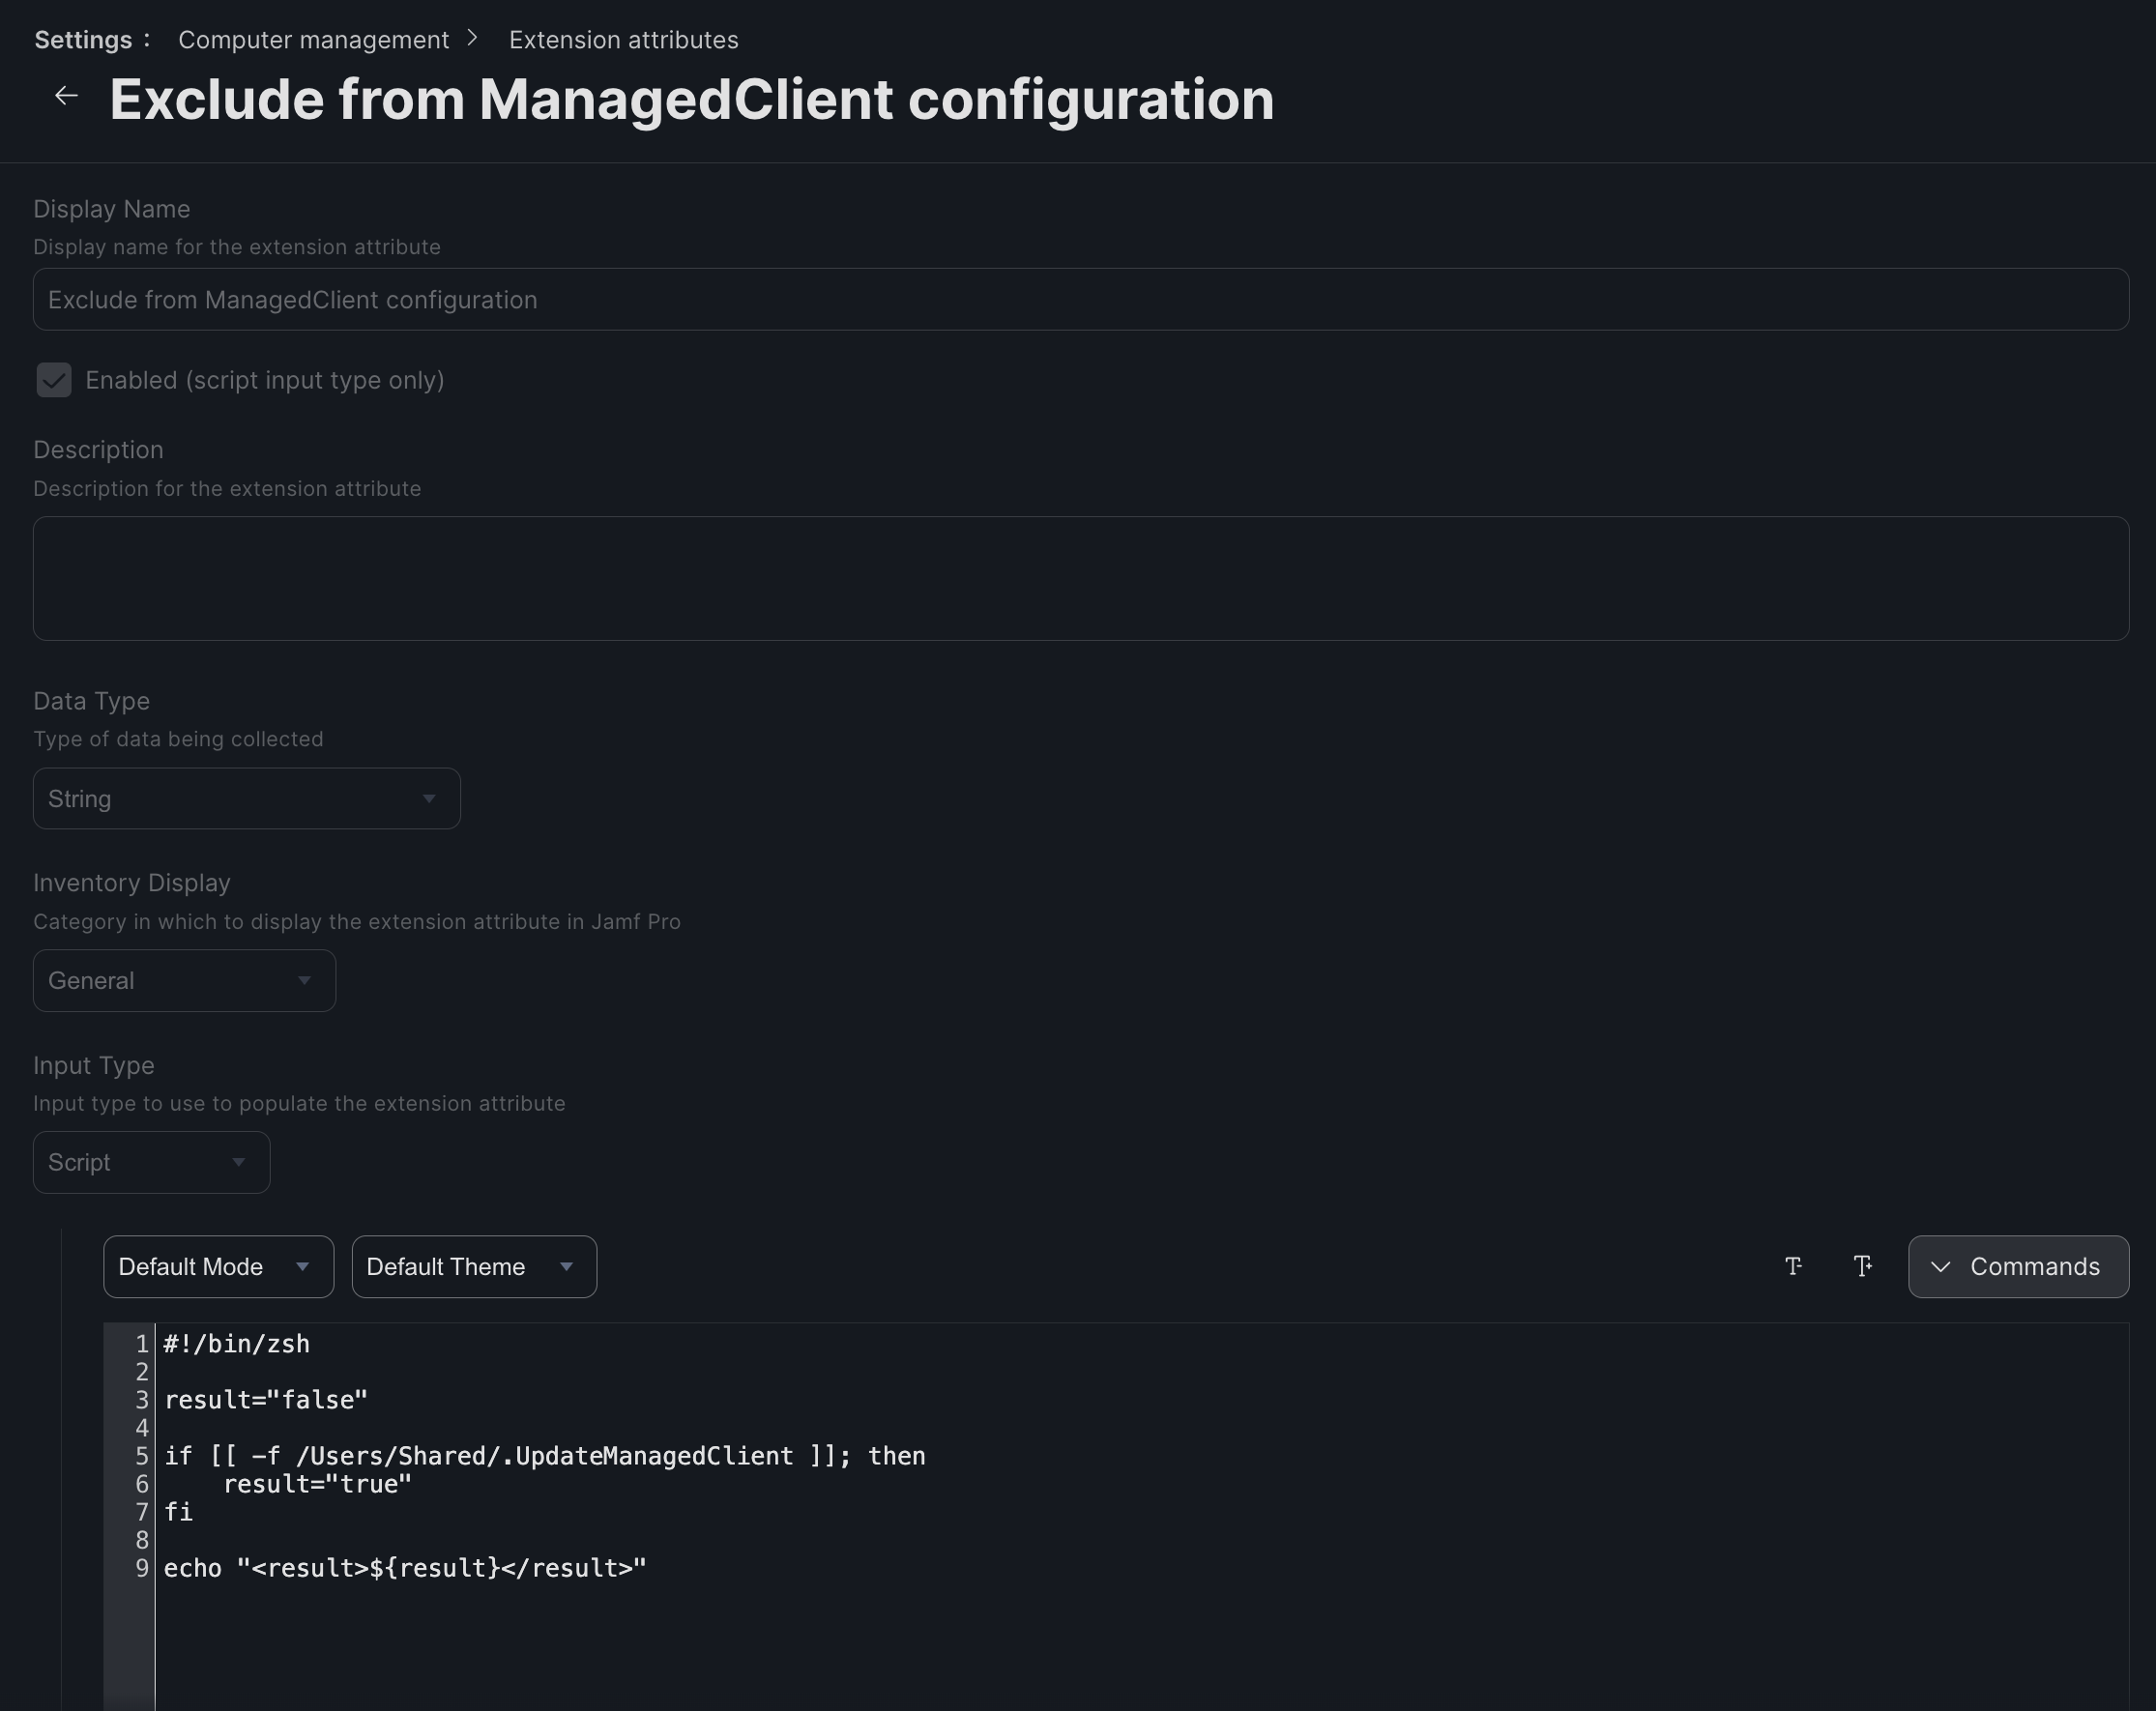
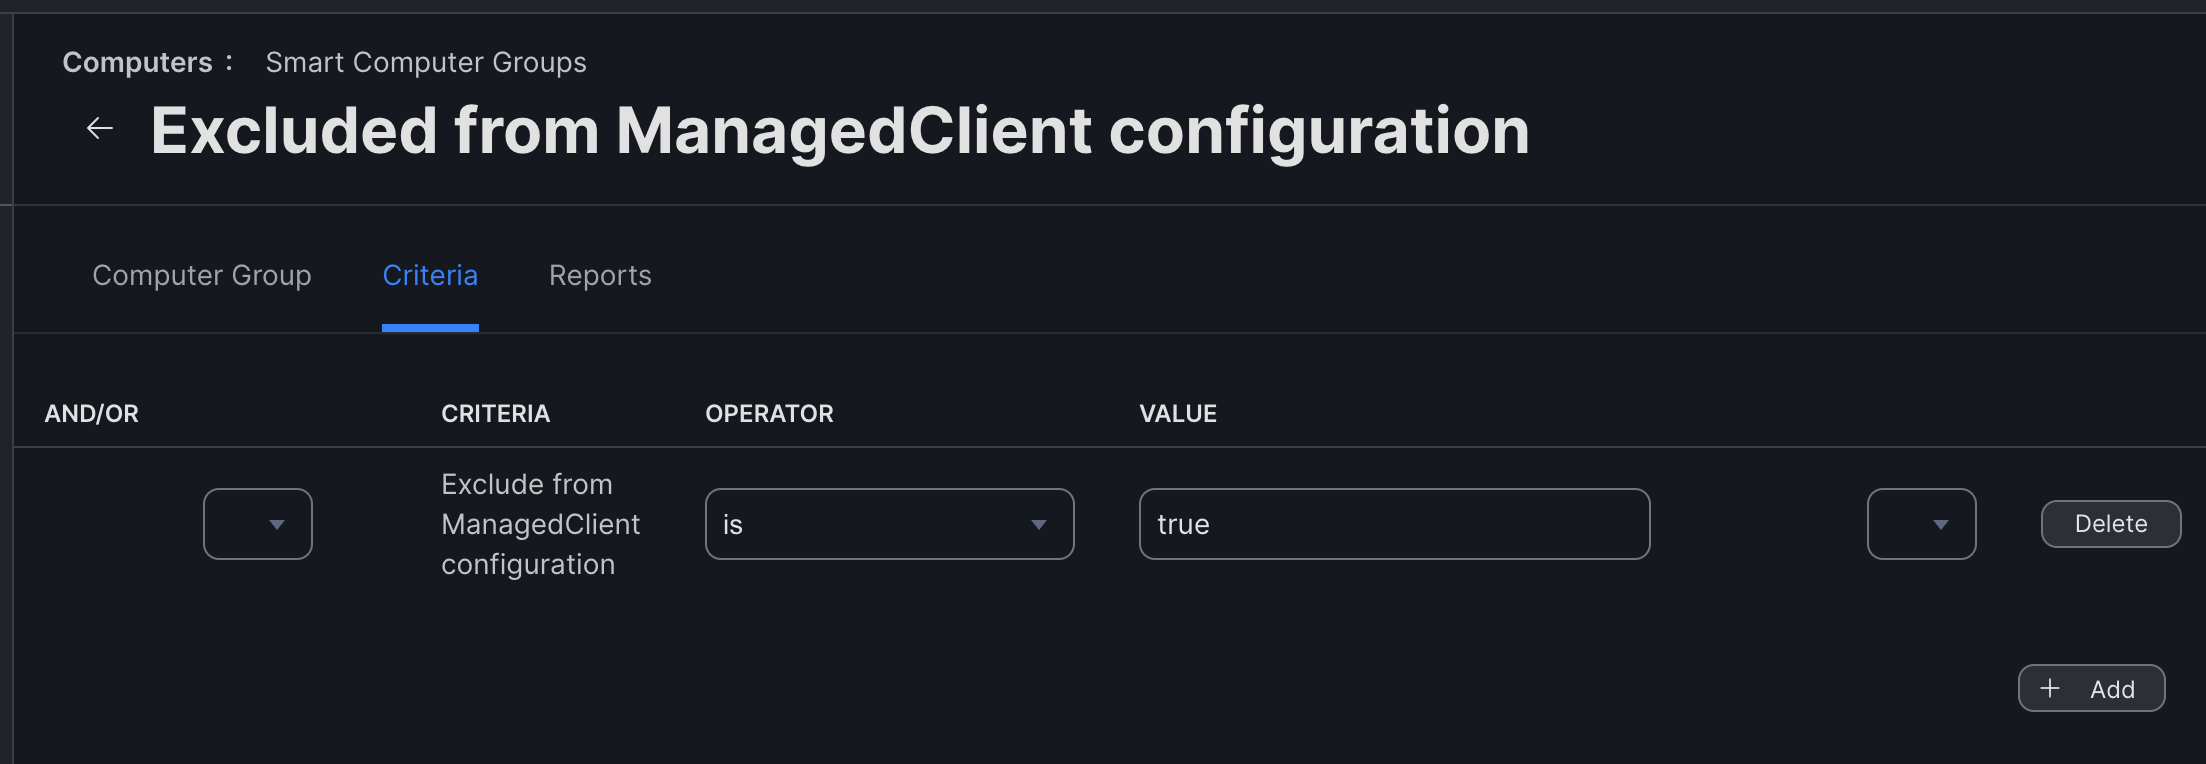
The workaround for this in Jamf is to create an Extension Attribute that checks for a condition you can control with a script (e.g. checking for a file on disk). You can then create a Smart Group based on that Extension Attribute, and exclude it from the profile. This means that triggering the Extension Attribute’s condition will cause the profile to be removed. Once the device leaves the Smart Group again, the updated profile will be deployed.
So, you could have an extension attribute that runs this script:
#!/bin/zsh

result="false"

if [[ -f /Users/Shared/.UpdateManagedClient ]]; then
    result="true"
fi

echo "<result>${result}</result>"
This would return a value of “true” if the file /Users/Shared/.UpdateManagedClient exists.
You could then manually (or periodically) run this script on your fleet:
#!/bin/zsh

# Create the file that triggers the Extension Attribute
touch /Users/Shared/.UpdateManagedClient
# Manually check into Jamf to update the Extension Attribute value on the Jamf instance
jamf recon
# Wait a few seconds for Jamf to revoke the profile
sleep 5
# Delete the file, restoring the Extension Attribute value to its "normal" state
rm -f /Users/Shared/.UpdateManagedClient
# Manually check into Jamf to update the Extension Attribute value again
jamf recon
# Wait a few seconds for Jamf to redeploy the ManagedClient profile
sleep 5
Alternatively, you can create a Static Computer Group that is excluded from the scope of the profile, and manually add devices into and out of this group to reset the profile.
This seems to be a Jamf limitation only, as Kandji is able to update profiles on-device whenever a Global Variable changes2.
Concluding⌗
Ultimately, the benefit of this approach useful, as it allows the use a single manifest for all devices, and then conditionally include more manifests where needed, depending on attributes about the user. I personally prefer this over deploying multiple Munki configuration profiles scoped to different departments, as it means more of the software scoping configuration (and manifest assignment) lives in the Munki repo, rather than spread across systems.